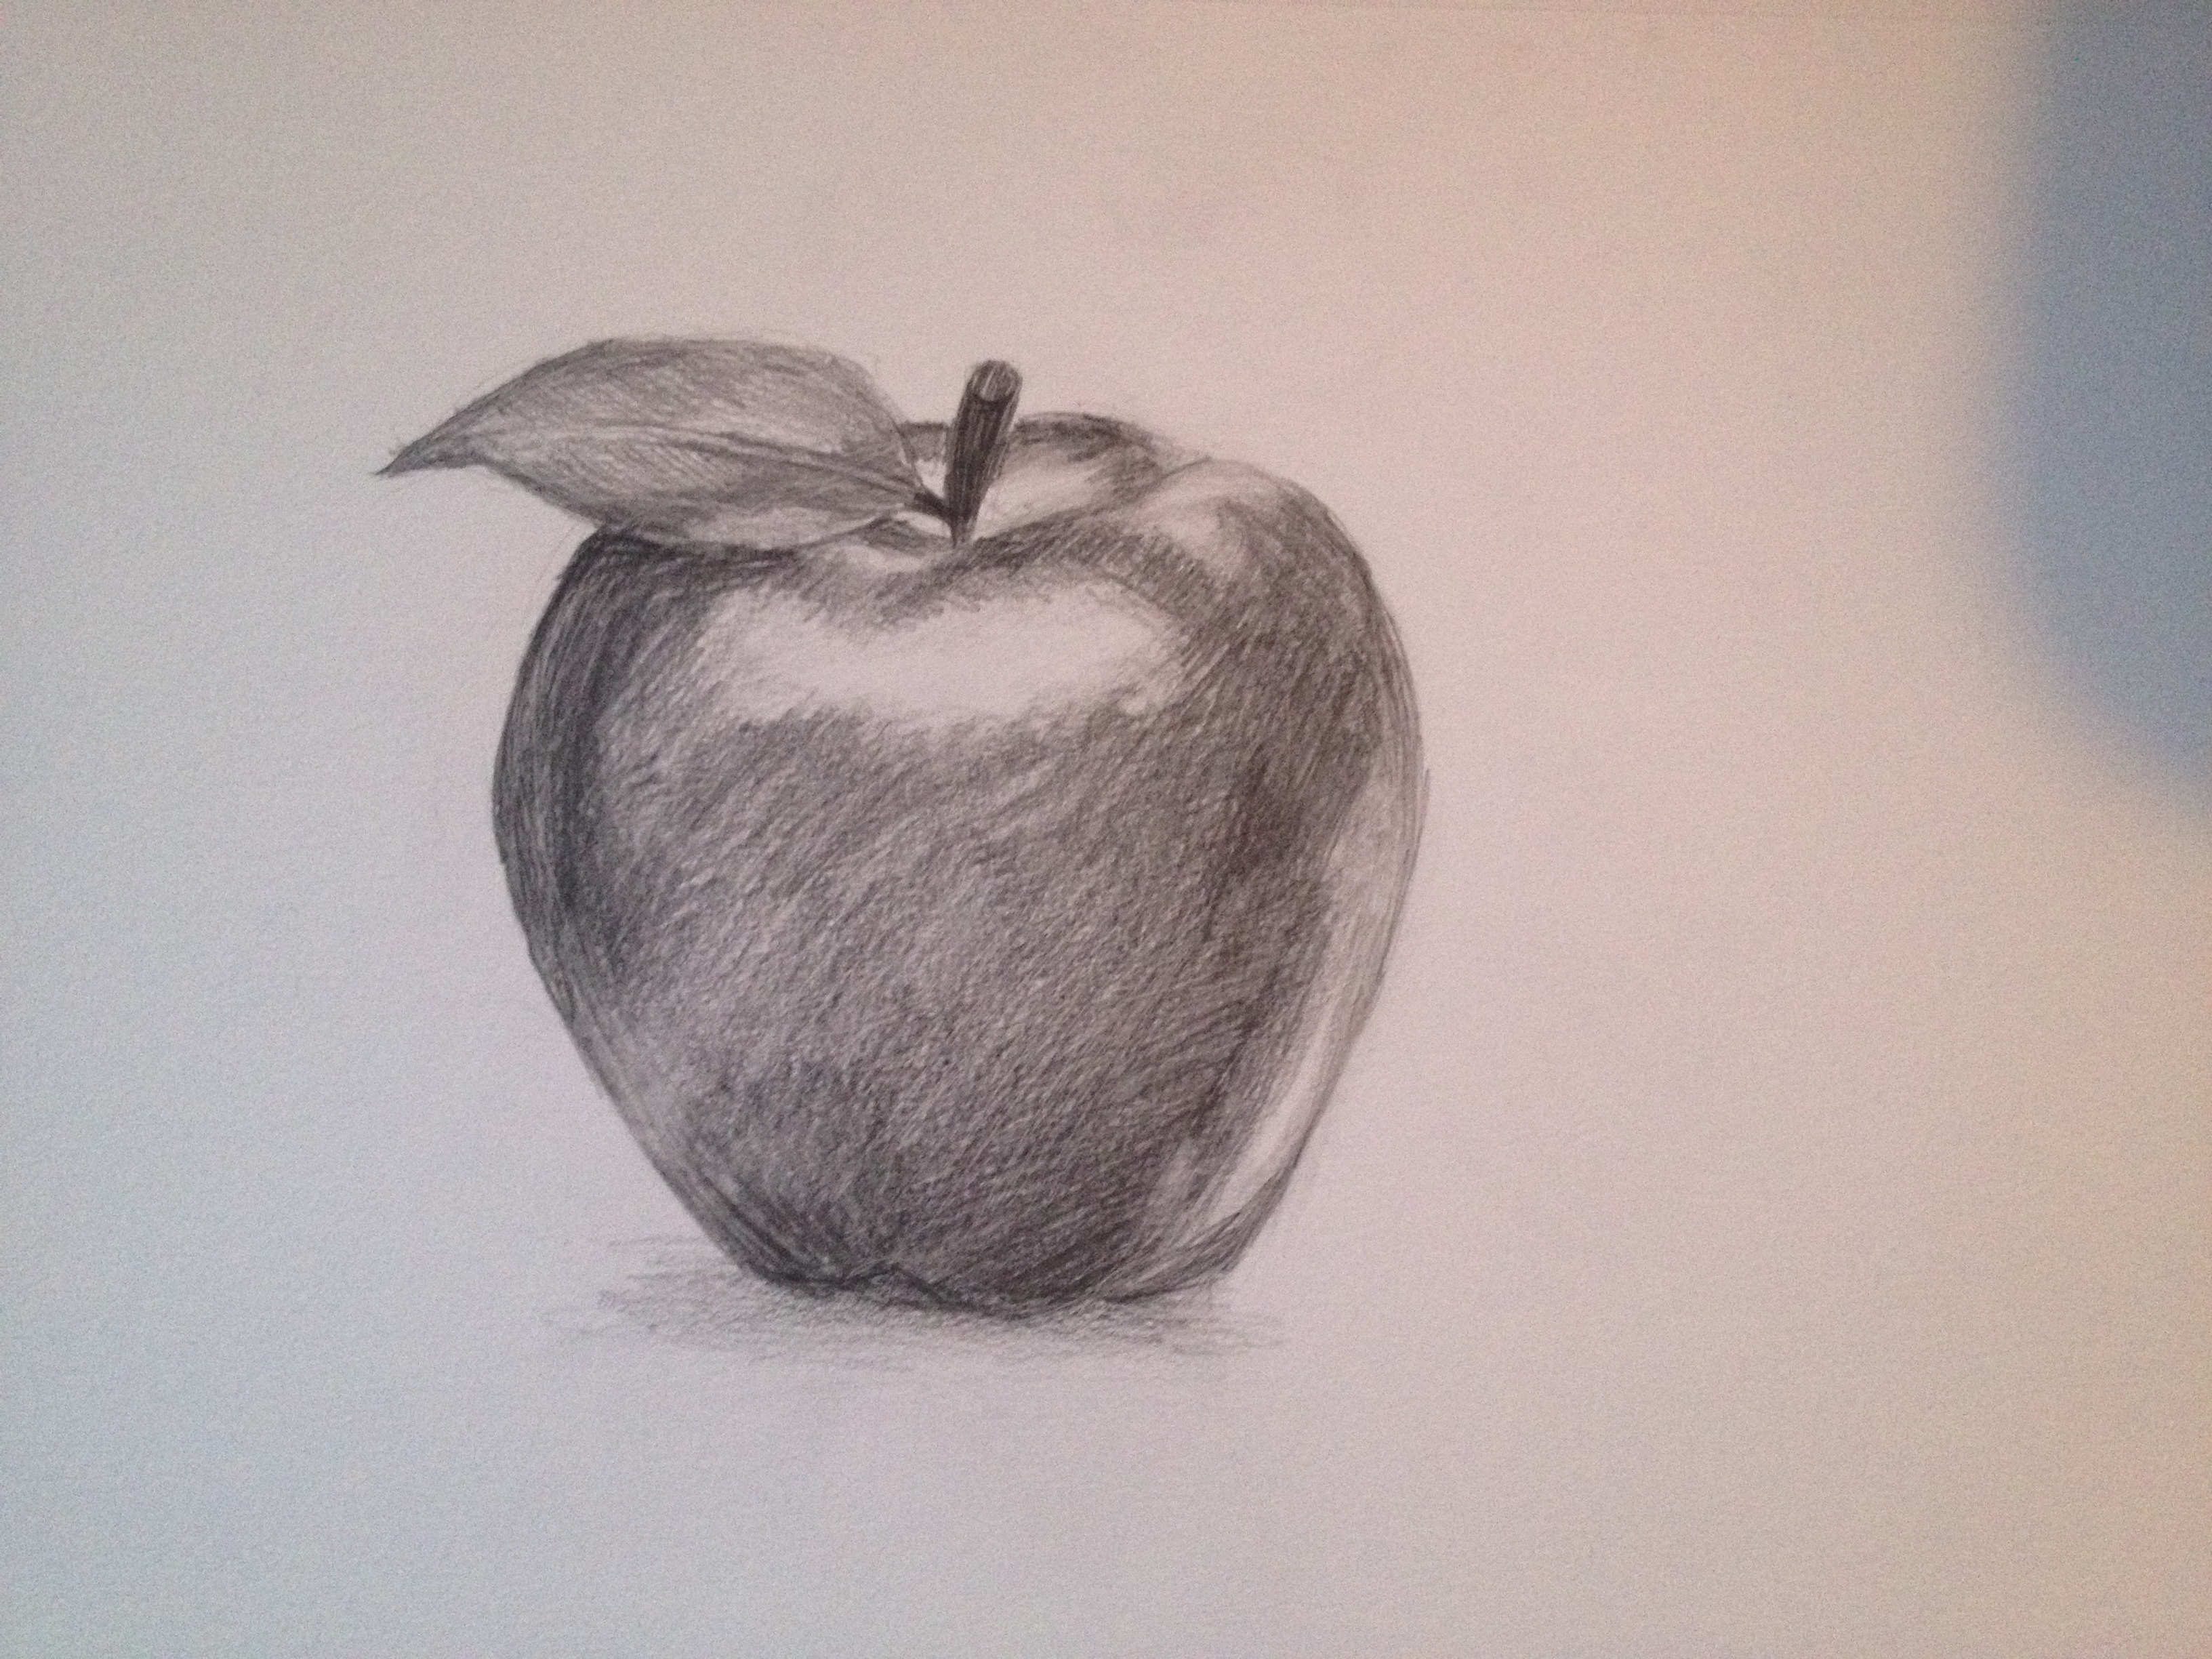
In this informatical article, we will provide a step-by-step guide on how to create a pencil sketch of an apple. This guide is suitable for artists of all skill levels, from beginners to experienced. Whether you’re looking to improve your drawing skills or simply enjoy the process of creating art, this guide will help you produce a beautiful and realistic pencil sketch of an apple.
Before we begin, let’s gather the materials we’ll need: a pencil, an eraser, a sharpener, and a piece of paper. Once you have your materials ready, find a comfortable place to work and let’s get started!
Now that you have the basic materials and have chosen an apple as your subject, it’s time to start sketching! In the following sections, we’ll guide you through the process of creating a pencil sketch of an apple, step by step.
Pencil Sketch of Apple
Capture the Essence of an Apple
- Observe and Simplify Shapes
- Use Light and Shadow
- Add Texture and Details
- Experiment and Practice
With patience and practice, you’ll be able to create stunning pencil sketches of apples and other objects.
Observe and Simplify Shapes
The first step in creating a pencil sketch of an apple is to observe and simplify its shapes. Look at the apple from different angles and identify its basic shapes. An apple typically has a round or oval shape, with a slight indentation at the stem end. It may also have a small bump at the blossom end.
Once you have identified the basic shapes of the apple, start simplifying them into geometric shapes. For example, you might represent the overall shape of the apple with a circle or an oval. The indentation at the stem end can be represented with a triangle or a V-shape. The bump at the blossom end can be represented with a small circle or a dot.
By simplifying the shapes of the apple, you can make it easier to draw. You can also focus on capturing the overall form and proportions of the apple, rather than getting bogged down in details.
Here are some tips for observing and simplifying shapes:
- Squint your eyes to help simplify the shapes of the apple.
- Focus on the overall form and proportions of the apple, rather than the details.
- Use geometric shapes to represent the basic shapes of the apple.
Once you have simplified the shapes of the apple, you can start sketching the outline. Use light, quick strokes to sketch the basic shapes of the apple. Don’t worry about making the sketch perfect at this stage. The goal is to capture the overall form and proportions of the apple.
Use Light and Shadow
Once you have sketched the outline of the apple, you can start adding light and shadow to create a sense of depth and realism.
- Identify the light source.
The light source is the direction from which the light is coming. It can be natural light from the sun or artificial light from a lamp. Once you have identified the light source, you can start shading the apple accordingly.
- Shade the areas that are not facing the light source.
These areas will be darker than the areas that are facing the light source. Use a darker pencil or apply more pressure to your pencil to create darker shades.
- Add highlights to the areas that are facing the light source.
These areas will be lighter than the areas that are not facing the light source. Use a lighter pencil or apply less pressure to your pencil to create lighter shades.
- Use a blending stump or your finger to blend the shades and highlights.
This will help to create a smooth transition between the different shades and highlights.
By using light and shadow effectively, you can create a sense of depth and realism in your pencil sketch of an apple. Experiment with different shading techniques to see what works best for you.
