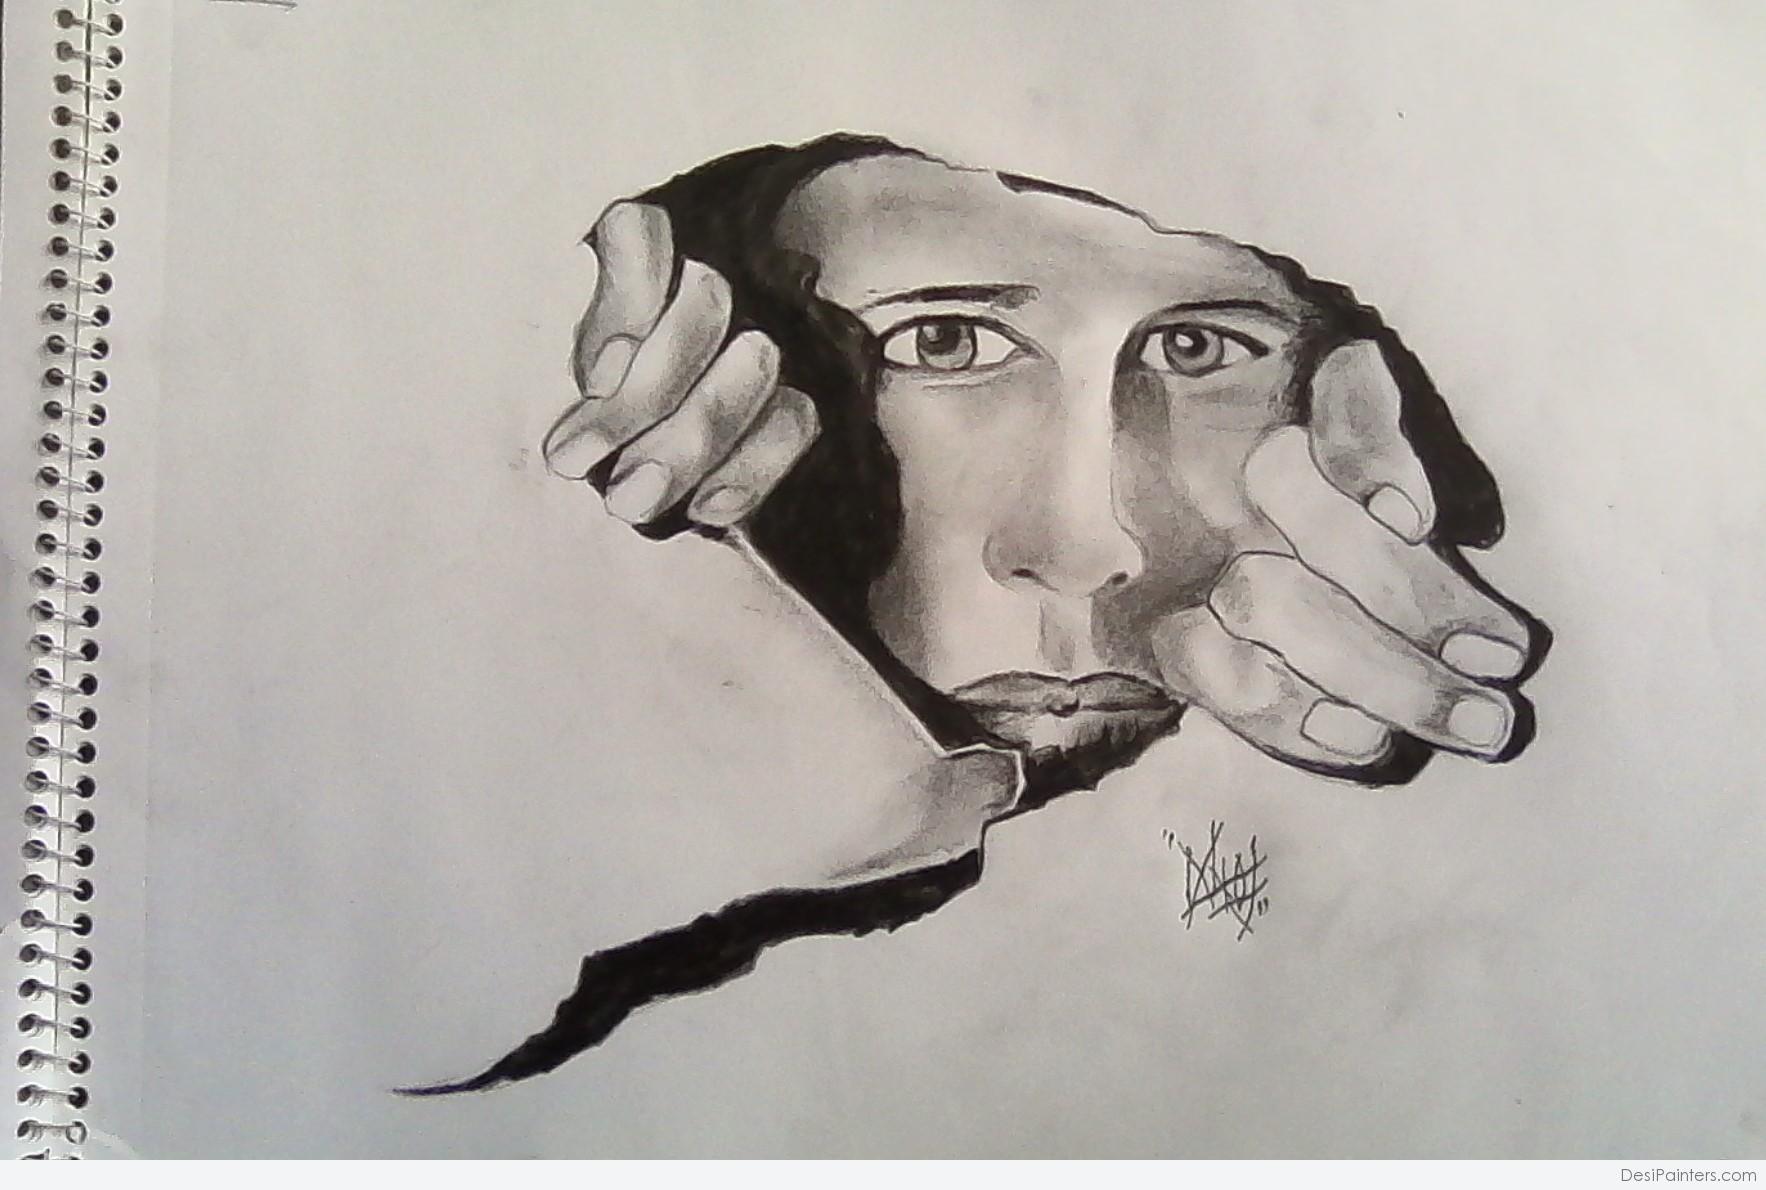
Have you ever been amazed by the lifelike pencil sketches that seem to jump off the page? If you’re a beginner artist looking to take your pencil drawing skills to the next level, learning 3D drawing techniques can open up a world of possibilities. With a few simple tricks and a bit of practice, you can create stunning drawings that appear to have depth and realism.
In this comprehensive guide, we’ll delve into the world of 3D drawing pencil sketch, providing step-by-step instructions, helpful tips, and inspiring examples to help you embark on this exciting artistic journey. Get ready to transform your drawings into captivating three-dimensional masterpieces!
Before we dive into the specific techniques, let’s first understand the fundamental concepts behind 3D drawing. It’s all about creating the illusion of depth and perspective, making the objects in your drawing appear as if they occupy space and have volume.
3D Drawing Pencil Sketch
Explore the realm of three-dimensional drawings with pencils, creating depth and realism on paper.
- Master perspective
- Use shading and highlights
- Create the illusion of depth
With practice and attention to detail, you can transform your pencil sketches into captivating works of art that appear to come to life.
Master perspective
Perspective is the key to creating the illusion of depth in a 3D drawing. It allows you to accurately represent objects as they appear in space, making your drawings look more realistic and believable.
There are two main types of perspective used in drawing: linear perspective and aerial perspective. Linear perspective deals with the way objects appear to get smaller as they recede into the distance, while aerial perspective deals with the way objects appear to change color and value as they recede into the distance.
To master perspective in your 3D pencil sketches, follow these steps:
- Choose a vanishing point. The vanishing point is the point on the horizon where all parallel lines converge. It is typically placed at the center of the drawing.
- Draw a horizon line. The horizon line is the line that represents the level of the viewer’s eye. It is typically placed at the top or bottom of the drawing.
- Draw lines from the vanishing point to the objects in your drawing. These lines are called orthogonals. They help you to determine the angle and size of the objects in your drawing.
- Use shading and highlights to create the illusion of depth. By shading the areas of your objects that are closest to the viewer and highlighting the areas that are furthest away, you can create the illusion of depth and make your objects appear more three-dimensional.
With practice, you will be able to master perspective and create stunning 3D pencil sketches that appear to leap off the page.
Remember, the key to creating a successful 3D drawing is to pay attention to the details and to be patient. Don’t get discouraged if your first few attempts don’t turn out as expected. Keep practicing and experimenting with different techniques, and you will eventually be able to create beautiful and realistic 3D drawings.
Use shading and highlights
Shading and highlights are essential techniques for creating the illusion of depth and form in your 3D pencil sketches. By carefully placing shadows and highlights, you can make your objects appear to be rounded and three-dimensional.
To use shading and highlights effectively, follow these steps:
- Identify the light source. The light source is the imaginary point from which light is coming in your drawing. It can be the sun, a lamp, or any other light source.
- Determine the direction of the light. The direction of the light will determine where the shadows and highlights will fall on your objects.
- Shade the areas of your objects that are furthest from the light source. These areas will be the darkest.
- Highlight the areas of your objects that are closest to the light source. These areas will be the lightest.
- Use a variety of shading techniques to create different effects. You can use hatching, cross-hatching, stippling, and other techniques to create different textures and values in your shading.
By experimenting with different shading and highlighting techniques, you can create a wide range of effects in your 3D pencil sketches. You can make your objects appear to be smooth and shiny, rough and textured, or anything in between.
Here are some additional tips for using shading and highlights in your 3D pencil sketches:
- Use a variety of pencils with different hardnesses. Harder pencils are good for creating light shadows, while softer pencils are good for creating dark shadows.
- Use a blending stump or tortillon to blend your shading and highlights. This will help to create smooth transitions between different values.
- Pay attention to the values in your drawing. The values are the different shades of gray between black and white. By carefully controlling the values in your drawing, you can create a sense of depth and realism.
With practice, you will be able to use shading and highlights to create stunning 3D pencil sketches that appear to come to life.

